PIPE REPAIR CLAMP
- Stainless Steel Repair Clamp for permanent pipe repairs
- Full circle, single band repair clamps (CR1)
- Full circle, multi band repair clamps (CR2, 3 &4)
- Tapped repair clamps (CTR)
- Flanged offtakes (CFO)
- Service saddles (CSS)
- Junior couplings (code CFW)
- Ranger couplings multi drill / table 10 / table 16
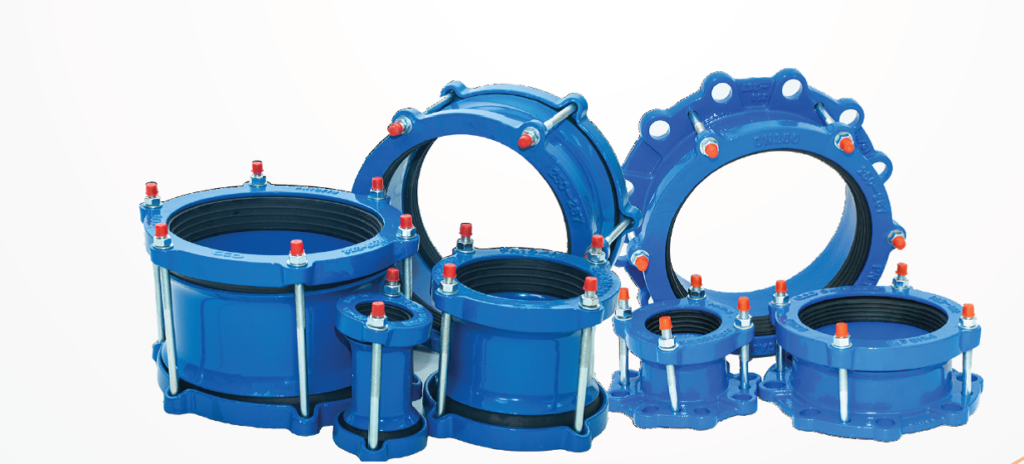
- Flange adapters – multi range
- Galvanised compression couplings
Instructions Before Fitting. Clean the pipe where the clamp is to be fitted. Position the clamp so that the holes in the pipe are in the centre of the clamp. Mark the position on the pipe at each end of the clamp. Remove the clamp from the pipe. Apply a suitable plumbing lubricant smoothly on the whole area to be covered by the clamp. Open the clamp by loosening the nuts to the end of the bolts (do not remove the nuts). Wrap the clamp around the pipe and engage the washer plate/s behind the receiver plate/s. Position the sides of the clamp to line up with the, marks you made ensuring that the hole/s are in the centre of the clamp. Make sure the gasket forms fully around the pipe, no folds. Position the bolts at 45 degrees to the hole in the pipe, tighten the nuts to recommended torque (M16 – 135Nm) (M12 – 95Nm). Tighten the bolts evenly and make sure the gasket does not hook or fold. The gasket should fit smoothly around the pipe. Open the water or gas.